PHOTO PREPARATION · CASEPOP EDITORIAL
HEIC Photo Won’t Upload? Make a JPEG Copy for Your Custom Case
Keep the original photo and export a separate JPEG or PNG copy. CasePop currently lists PNG, JPG and WebP uploads up to 12 MB. Changing a filename is not the same as converting the image. Check the exported copy before arranging your case.
By CasePop Editorial ·
Upload your compatible photoKeep the photo you love. Change the working copy.
A favorite iPhone photo can be perfectly viewable on your device yet arrive in a format a particular upload field does not list. That does not automatically mean the photograph is damaged or unsuitable for a case. First separate two questions: can the editor read this file, and does the picture contain enough clear detail for the design? Converting the format addresses the first question, not the second.
Keep the untouched original in your own photo library or files. Make a separately named upload copy so you can return to the source if the crop, color or compression looks wrong. Do not overwrite the only copy of an important family photograph just to try an upload. Use a photo you own or have permission to reproduce.
Check the file, not only its name
The CasePop upload control currently accepts PNG, JPG/JPEG and WebP. HEIC is not in that published list. Some sharing routes may convert an Apple photo automatically, while others preserve the original format; inspect the file you actually selected rather than assuming every copy is identical. A filename ending in .jpg is not sufficient proof if someone merely renamed an HEIC file.
Use an image app’s export or conversion feature to create the new file. Then open that exported file itself. Check that it shows the intended photograph, opens without an error and has the correct orientation. Give it a name you can recognize in the studio’s file chooser, such as a description followed by upload-copy, rather than leaving several indistinguishable exports.
A documented Mac route: export from Preview
On a Mac that can open the photo, Apple documents opening it in Preview, choosing File → Export, and selecting JPEG or PNG from the format menu. Save under a new name or location. JPEG export offers a quality adjustment; inspect the saved result before deciding whether it is acceptable. See Apple’s current Preview instructions if the available controls differ on your system.
If you do not have a Mac, use a trusted image application on your device that explicitly exports to a supported format. Confirm its actual output rather than following Mac menu names on a different device. This guide does not require uploading private photographs to an unfamiliar conversion website. Changing an iPhone camera setting for future photos is not a substitute for exporting the existing picture you want to use.
Check file size and image detail separately
CasePop’s stated upload limit is 12 MB. File size describes storage, while pixel dimensions describe the image grid; they are not interchangeable quality scores. The studio recommends an original image with at least 1500 pixels on the shorter side. Meeting that recommendation does not repair missed focus, motion blur or a heavily compressed original, and it is not a guarantee of a particular printed result.
If your exported copy exceeds the limit, return to the original and make another export with a modest quality or size adjustment in your chosen application. Compare a face, lettering or another important detail at full size before using it. Avoid repeatedly saving an already compressed copy. Do not enlarge a tiny image merely to make its pixel count look sufficient, or use a screenshot as an automatic shortcut.
Match the next step to the problem you see
A format warning calls for checking the actual export type. A size warning calls for checking the exported file’s size. A supported file that still cannot be read needs a different check: open it independently, confirm it is complete, and try a new export from the original. Do not assume all three problems have the same cause or keep submitting the identical file without changing anything.
If a supported, appropriately sized copy remains unreadable, contact the studio and describe the format, size and exact message. Do not send payment details, a private address or an entire personal photo library to explain an upload problem. There is no need to start a payment to test whether a picture can be opened.
Once it opens, check the case—not just the upload
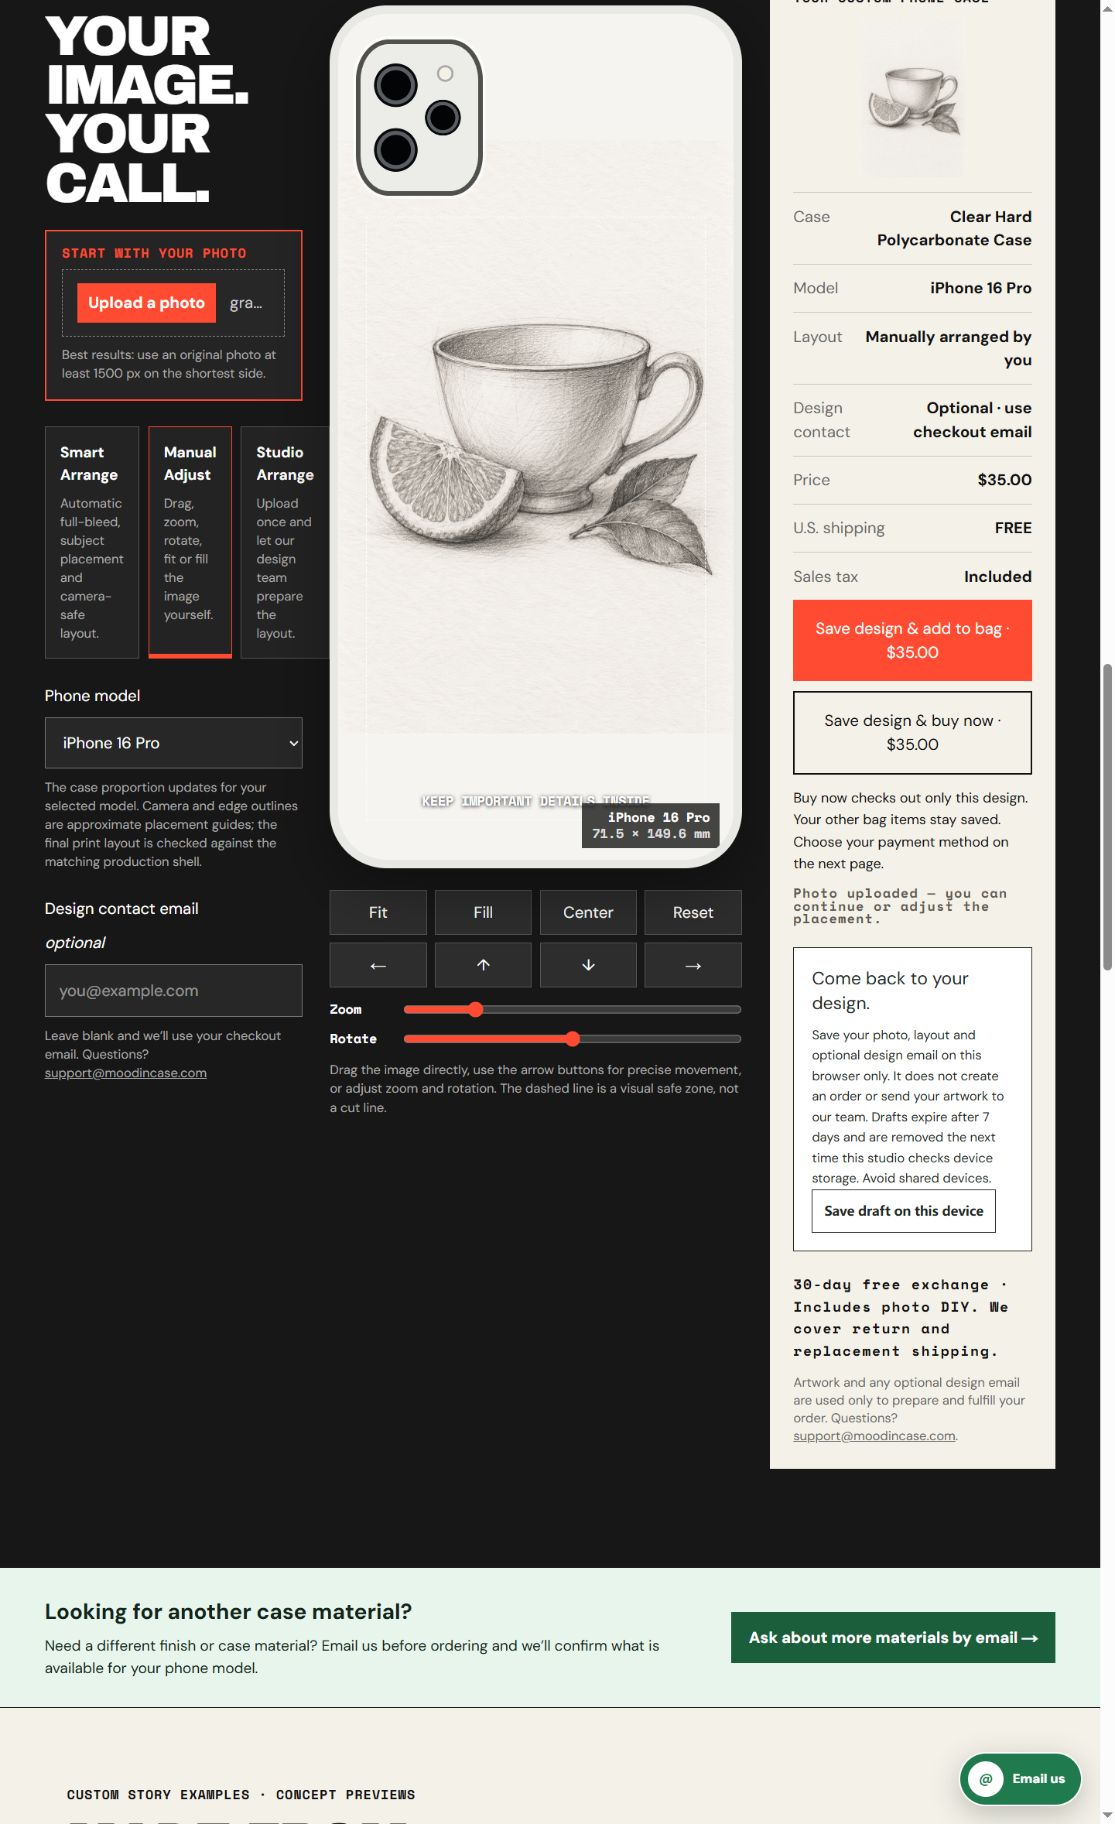
Open the CasePop Custom Studio, choose the case construction and select your exact phone model. Upload the compatible copy and inspect its orientation and composition. Clear Hard Polycarbonate Case and Clear Flexible TPU Case are two options currently listed; their names alone do not establish a protection rating or guarantee how an image will look when printed.
Start with Fit to see the composition, then consider Fill only after checking what it removes near the edges. Keep meaningful details away from the camera opening. If the composition needs help, use Studio Arrange and explain which details matter. An upload that works is not a finished order, and an editor preview is not a measured production template.
Finish with one checked design
Phone photo DIY is currently $35. Confirm the price, selected model and construction in the live studio before ordering. Review the shipping and return information there rather than assuming file conversion changes fulfillment terms. Keep the original and your final upload copy independently. Only proceed to the shopping bag and checkout after the correct image is visible in the design you intend to buy.
The useful outcome is a compatible file with detail you have checked—not the smallest possible download or a filename that happens to end in JPG. If exporting changes a color or loses an important detail, return to the original or ask for help before paying.
Questions before you begin
Will renaming .heic to .jpg fix the upload?
No. Use an image application to export or convert the actual file, then open and inspect the resulting copy.
Does a successful upload guarantee print quality?
No. Check focus, detail, orientation and placement. The editor preview is a layout aid, and file compatibility is separate from print suitability.
Do I need to change how my camera takes every future photo?
Not to prepare an existing picture for this guide. Keep your original and export a compatible working copy. Review Apple’s guidance separately if you want to change future capture settings.
Ready with your working copy?
Keep the original safely, then check your chosen image in the live studio.
Upload your compatible photoFormat guidance: Apple: using HEIF or HEVC media · Apple: convert image file types in Preview